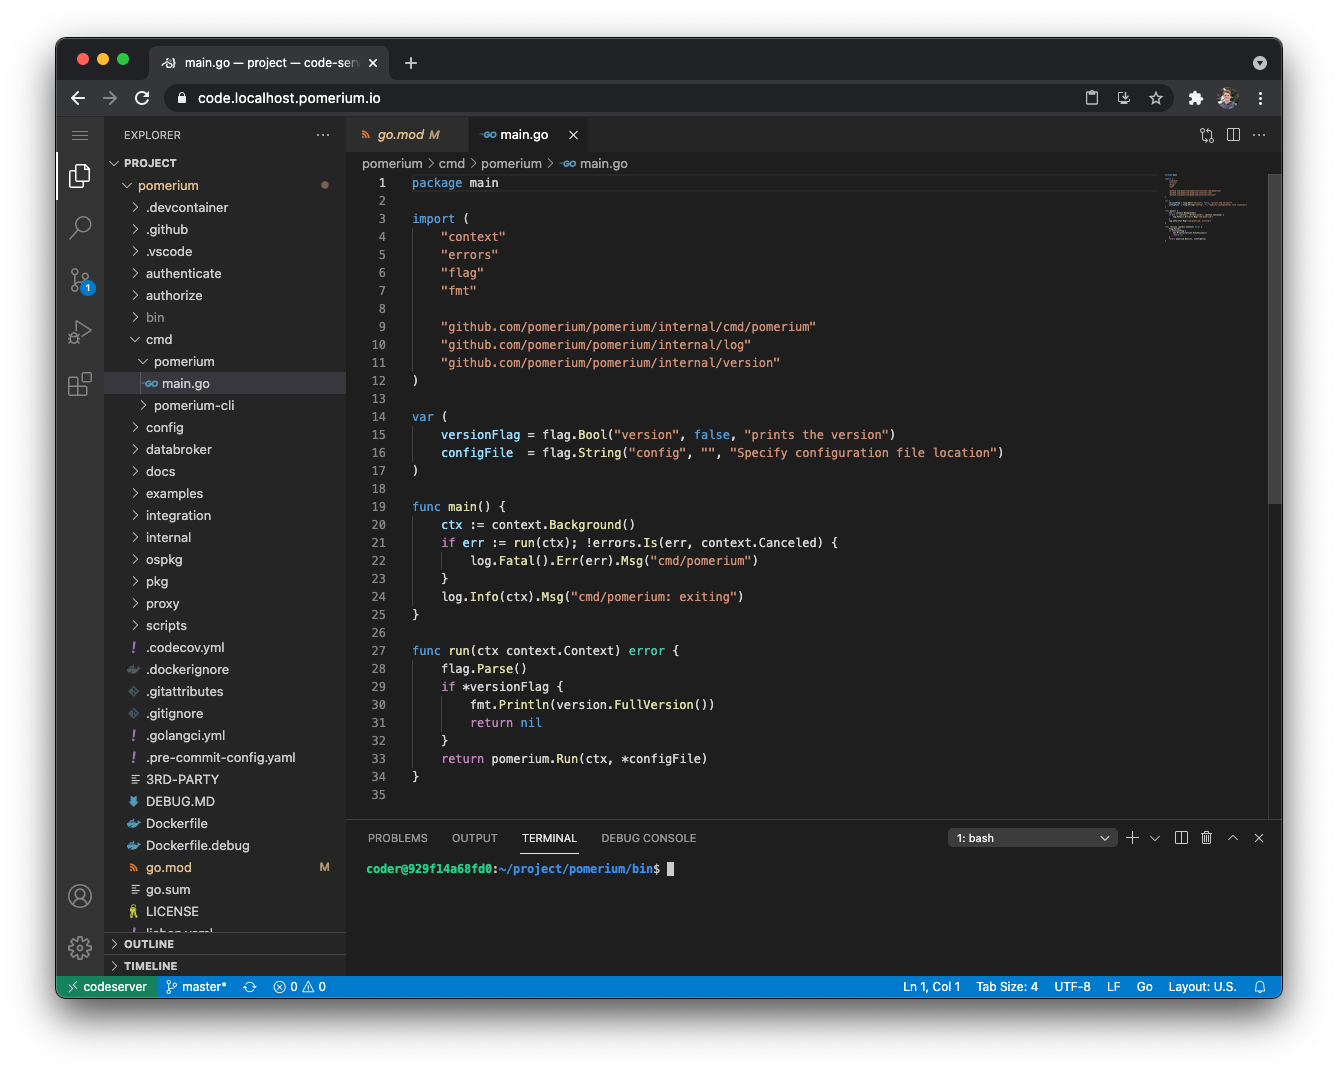
Secure Browser Access to Code-Server Behind Pomerium Zero
In this guide, you'll run code-server's Visual Studio Code (VSCode) in a Docker container, and secure browser access to your project with Pomerium.
What is Code-server?
Code-server is an open-source tool that allows you to run VSCode, a popular integrated development environment (IDE), on a remote server through the browser. This setup essentially turns VSCode into a cloud-based IDE, providing flexibility and accessibility advantages.
Code-server is particularly popular among developers who want the full power of VSCode, but need to work in a cloud-based environment. This is ideal if you work on multiple machines, need to access your development environment remotely, or you have limited local resources.
How to secure Code-server with Pomerium
Code-server requires password authentication by default. By securing code-server behind Pomerium, you can remove code-server's password requirement and configure Pomerium to add authentication and authorization to an online instance of VSCode.
This guide shows you how to secure code-server with Pomerium. Here are the steps you'll follow:
-
Install code-server and run it in a Docker container
-
Access your code-server project in the browser listening on
localhost -
Configure Pomerium to safely expose your code-server instance
By the end, you will have a minimal, real-world code-server instance that allows developer teams to write code using VSCode in the browser.

Before you start
This guide uses Docker to run Pomerium Zero and Code-Server services in containers.
To complete this guide, you need:
- A Pomerium Zero account
- Docker and Docker Compose
Configure Pomerium Zero
Create a policy
In the Zero Console:
- Go to Policies
- Select New Policy
- Give it a Name and an (optional) Description
- Add an Allow Block and select an AND operator
- Keep the Domain criteria and replace Value with the domain portion of your email address (the part after “@”)
Save your policy.
Create a route
In the Zero Console:
- Select Routes
- Add a New Route
- Give it a Name (like Codeserver)
- In
From:, add the external URL to our Codeserver route - In
To:, add the internal URL - In the Policies field, select the Codeserver policy
- Select the Timeouts tab and Allow Websockets
- Select the Headers tab and Preserve Host Header
Add Docker Compose Services
First, make sure your docker-compose.yaml file contains the images to run Pomerium Zero and Codeserver:
pomerium:
  image: pomerium/pomerium:latest
  ports:
    - 443:443
  restart: always
  environment:
    POMERIUM_ZERO_TOKEN: <CLUSTER_TOKEN>
    XDG_CACHE_HOME: /var/cache
  volumes:
    - pomerium-cache:/var/cache
  networks:
    main:
      aliases:
        - authenticate.<CLUSTER_SUBDOMAIN>.pomerium.app
codeserver:
  image: codercom/code-server:latest
  networks:
    main: {}
  ports:
    - 8080:8080
  command: --auth none --disable-telemetry /home/coder/project
  volumes:
    - ./code-server:/home/coder/project
    - ./code-server-config/.config:/home/coder/.config
In line 7, replace CLUSTER_TOKEN with your own.
In line 14, replace CLUSTER_SUBDOMAIN with your own. For example, if your starter domain is loquacious-cyborg-2214.pomerium.app, the URL would be authenticate.loquacious-cyborg-2214.pomerium.app.
Access Code-server
Run docker compose up and go to your external URL.
After authenticating against our hosted Identity Provider, Pomerium will redirect you to your code-server instance.
Build a project in Code-server
Now that you can access VSCode in your browser, test out code-server by building a quick HTML project.
- Create an
index.htmlfile and add the following code:
<!doctype html>
<html lang="en">
  <head>
    <meta charset="UTF-8" />
    <meta http-equiv="X-UA-Compatible" content="IE=edge" />
    <meta name="viewport" content="width=device-width, initial-scale=1.0" />
    <title>Code-Server Sample</title>
  </head>
  <body>
    <h1 style="color:blueviolet">Check out more from Pomerium:</h1>
    <ul style="font-size: 20px;">
      <li><a href="<https://www.pomerium.com/docs/guides>">Guides</a></li>
      <li><a href="<https://www.pomerium.com/blog/>">Blog</a></li>
      <li><a href="<https://www.pomerium.com/docs>">Documentation</a></li>
    </ul>
    <h2 style="color:blueviolet">Happy coding!</h2>
  </body>
</html>
- Go to Extensions and install Live Server
- Right-click
index.htmland select Open with Live Server - Select any of the links to learn more about Pomerium
Great job! You successfully deployed code-server.
When the code-server container is rebuilt, any files outside of /home/coder/project are reset, removing any dependencies (such as go and make). In a real remote development workflow, you could mount additional volumes, or use a custom code-server container with these dependencies installed.